Replacing a condensate pump might not be the most thrilling of household tasks, but it's undeniably essential for maintaining a healthy, efficient HVAC system. This comprehensive guide will not only help you identify when it's time for a new condensate pump but will also take you through the selection, preparation, and installation processes. Let's dive in and ensure your system continues to run smoothly without the risk of water damage.
Understanding Your Condensate Pump
At the heart of your home's heating, ventilation, and air conditioning (HVAC) system lies the condensate pump, a device that might not capture much attention until it starts malfunctioning. This pump is tasked with collecting and removing the water (condensate) that accumulates during the heating and cooling processes. It's a critical component that prevents water from pooling in your HVAC system, which could lead to mold growth, water damage, and system inefficiencies. Understanding its role and functionality is the first step in addressing any issues that arise.
Signs You Need a New Condensate Pump
How do you know when it's time to replace your condensate pump? Several indicators should prompt immediate action:
- Unusual Noises: A pump that's on its last legs might start making strange noises, signaling it's struggling to operate.
- Visible Damage: Cracks, leaks, or any visible damage to the pump or its components are clear signs that a replacement is needed.
- Inefficiency: If the pump runs continuously but fails to remove water effectively, it's not performing its primary function and should be replaced.
- Ignoring these signs can lead to bigger problems, including water damage to your home or a complete breakdown of your HVAC system.
Selecting the Right Condensate Pump
Choosing a new condensate pump is not as straightforward as picking the first one you find. Consider the following factors to ensure you select the right pump for your system:
- Brand Reputation: Opt for pumps from reputable manufacturers known for quality and durability.
- Pump Capacity: Ensure the pump can handle the volume of condensate your system produces.
- Noise Level: Some pumps operate more quietly than others, which is an important consideration if the pump is located near living spaces.
- Safety Features: Features like a safety switch, which turns off the pump if water levels get too high, can prevent flooding and water damage.
Preparing for Installation
Before you start the installation process, gathering the necessary tools and materials is crucial. You'll need the new pump, appropriate tubing (usually 3/8 inch ID), a screwdriver, and possibly a drill if you need to create new mounting holes. Safety should be your top priority, so ensure the power to the HVAC system and the old pump is turned off before you begin.
Tools and Materials Needed
Having the right tools and materials on hand will make the installation process smoother and safer. In addition to the items mentioned above, consider having safety glasses to protect your eyes and a bucket or bowl to catch any water that drains out when you remove the old pump.
Safety Precautions
Electrical safety cannot be overstated. Always ensure the power is turned off before starting work on the pump. If you're unsure about handling any part of the installation, especially the wiring, it's wise to consult with or hire a professional.
Step-by-Step Installation Guide
Image by macrovector on Freepik
Removing the Old Pump
The first step is to carefully remove the old pump. This involves unplugging it, disconnecting any attached tubing, and unscrewing it from its mounting. Be prepared for water to drain out once you disconnect the tubing.
Installing the New Pump
With the old pump out of the way, it's time to install the new one. Position it in place, ensuring it's stable and properly aligned with the HVAC system's drainage output. If the mounting holes don't match up with those from the old pump, you may need to drill new ones. Once in place, secure the pump firmly.
Connecting the Discharge Tube
The discharge tube is vital for directing the condensate away from the pump and into a drain or outside your home. Ensure the tubing is securely connected to the pump and that it's routed in a way that prevents kinks or damage. Secure the tubing with zip ties or clamps as needed.
Implementing the Safety Switch
If your new pump includes a safety switch, integrating it into your system can provide an additional layer of protection against water damage. This typically involves altering the thermostat wiring to run through the pump, ensuring that if the pump fails, it will automatically shut off the furnace to prevent flooding.
Testing Your New Setup
After installation, testing the pump by pouring water into it and observing its operation is crucial. This will confirm that the pump is effectively removing water and that there are no leaks or issues with the discharge tube.
Maintenance Tips for Your New Condensate Pump
To ensure your new pump continues to operate efficiently, regular maintenance is key. This includes checking the tubing for blockages or damage and ensuring the area around the pump is clean and free from debris. Regular checks will help extend the life of your pump and prevent future issues.
Troubleshooting Common Issues
Even with proper installation and maintenance, issues can arise. Common problems include clogged tubing or incorrect installation. If you encounter any issues, reviewing the installation steps and checking for common problems can often provide a quick fix. If problems persist, consulting the pump's manual or seeking professional help is advisable.

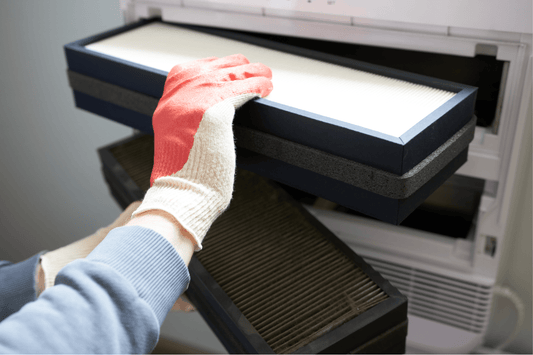
Image by senivpetro on Freepik
Conclusion
Replacing your condensate pump is a crucial maintenance task that can prevent significant issues with your HVAC system. By following this guide, you can ensure a successful replacement, from selecting the right pump to installation and maintenance. Remember, taking the time to address this issue promptly can save you from future headaches and keep your system running smoothly.
FAQs
How long does a condensate pump typically last?
A condensate pump can last several years with proper maintenance, but its lifespan can vary based on usage and conditions.
Can I replace a condensate pump on my own?
Yes, with basic DIY skills and the right tools, you can replace a condensate pump. However, if you're uncomfortable with any part of the process, especially electrical work, seeking professional assistance is best.
What should I do if my new pump isn't effectively removing water?
First, check for any installation errors or clogs in the tubing. If the issue isn't resolved, the pump may be defective or not suitable for your system's needs.
Is a safety switch necessary for all condensate pumps?
While not mandatory, a safety switch is a highly recommended feature that can prevent water damage by shutting off your HVAC system if the pump fails.
How can I ensure my condensate pump remains in good condition?
Regular maintenance, such as checking for clogs and ensuring the area around the pump is clean, will help keep your pump in good working condition.
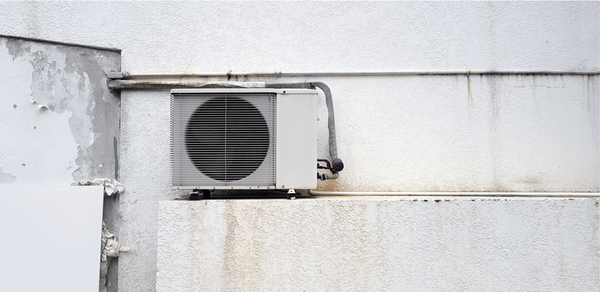
Image by DC Studio on Freepik